How to Sanitize Ukoke Reverse Osmosis Water System
While our Ukoke Reverse Osmosis Water System does not need to be sanitized prior to first use, we understand some customers may have concerns and here is a guide on how to clean, disinfect and sanitize ro system hydrogen peroxide.

We recommend that you use unscented household bleach or hydrogen peroxide. In order to properly sanitize your system, please follow these steps (please read through before starting):
- Switch off water supply that is connected to the RO system. Use gloves and eye protection if possible.
- Drain out the old tank of water, through the dispensing faucet.
- Take out stages 1, 2, 3 pre-filters from their housings. Also, remove the Membrane from its housing. (If you plan to re-use the membrane, use pliers
 to take out the membrane, avoid touching it with your fingers to prevent contamination.)
 - Do notremove the last 2 filters (stage 5 & 6). Leave these filters on as is at this point.
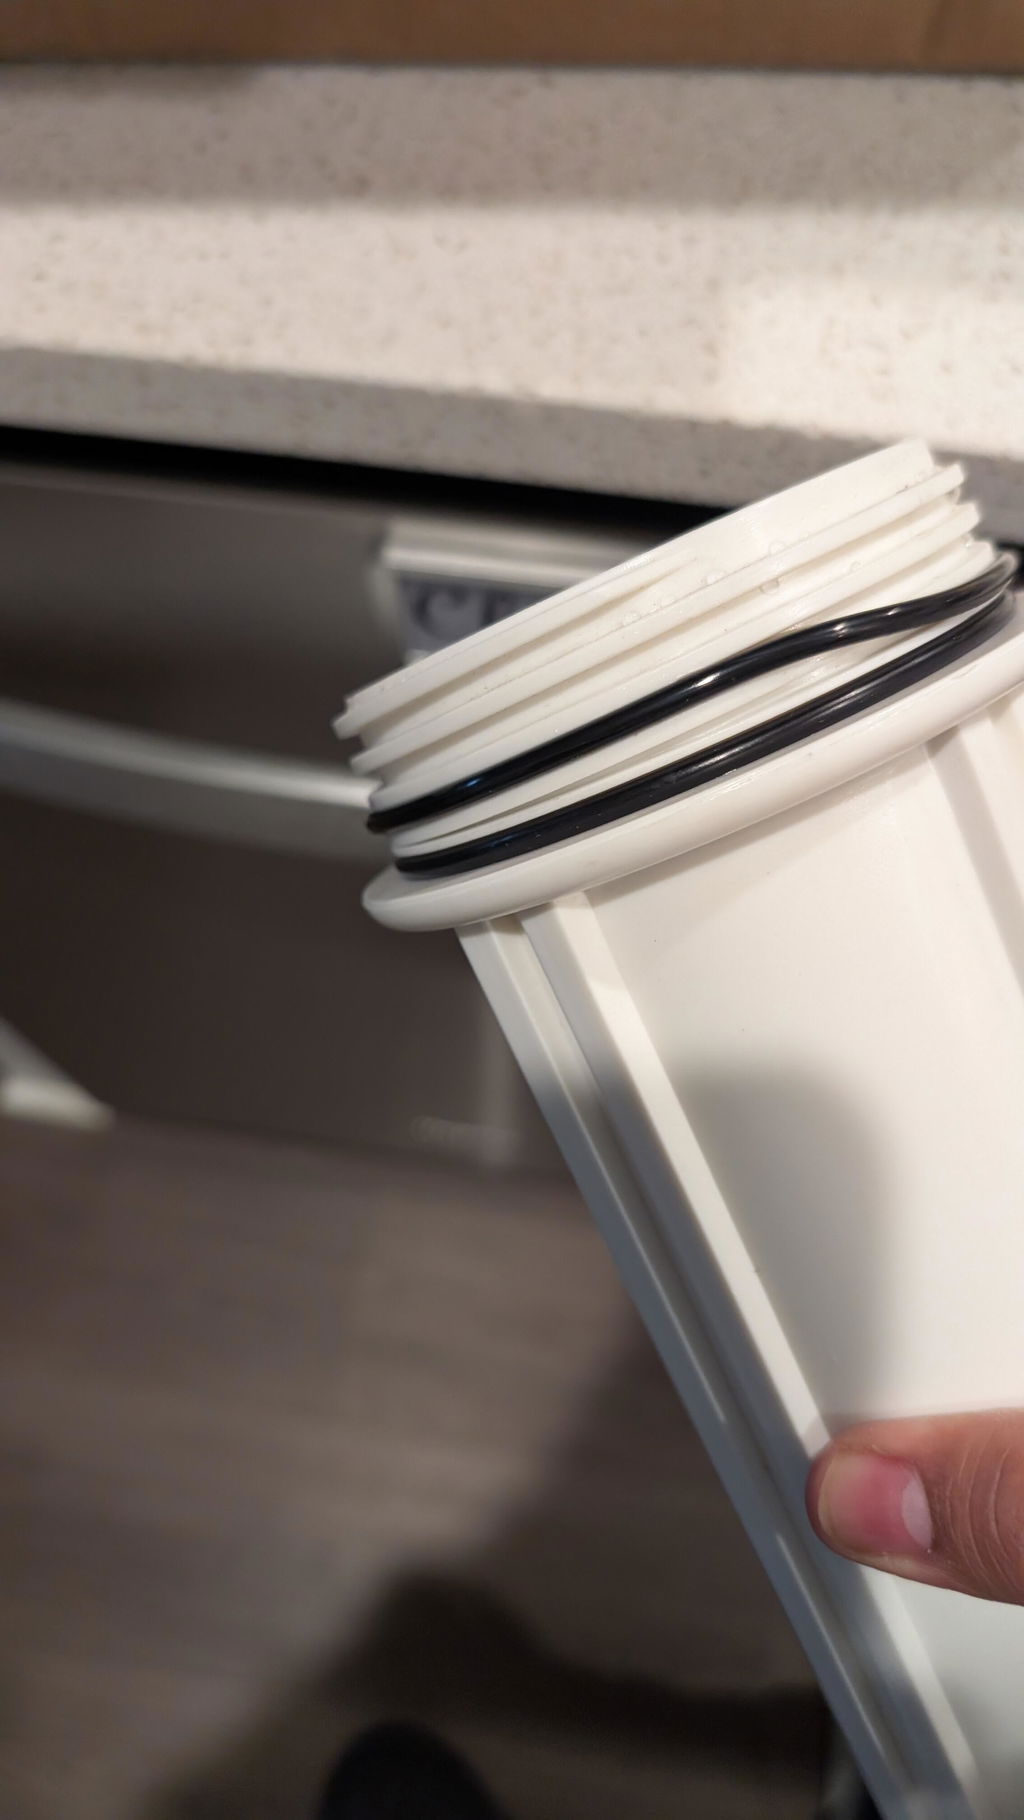
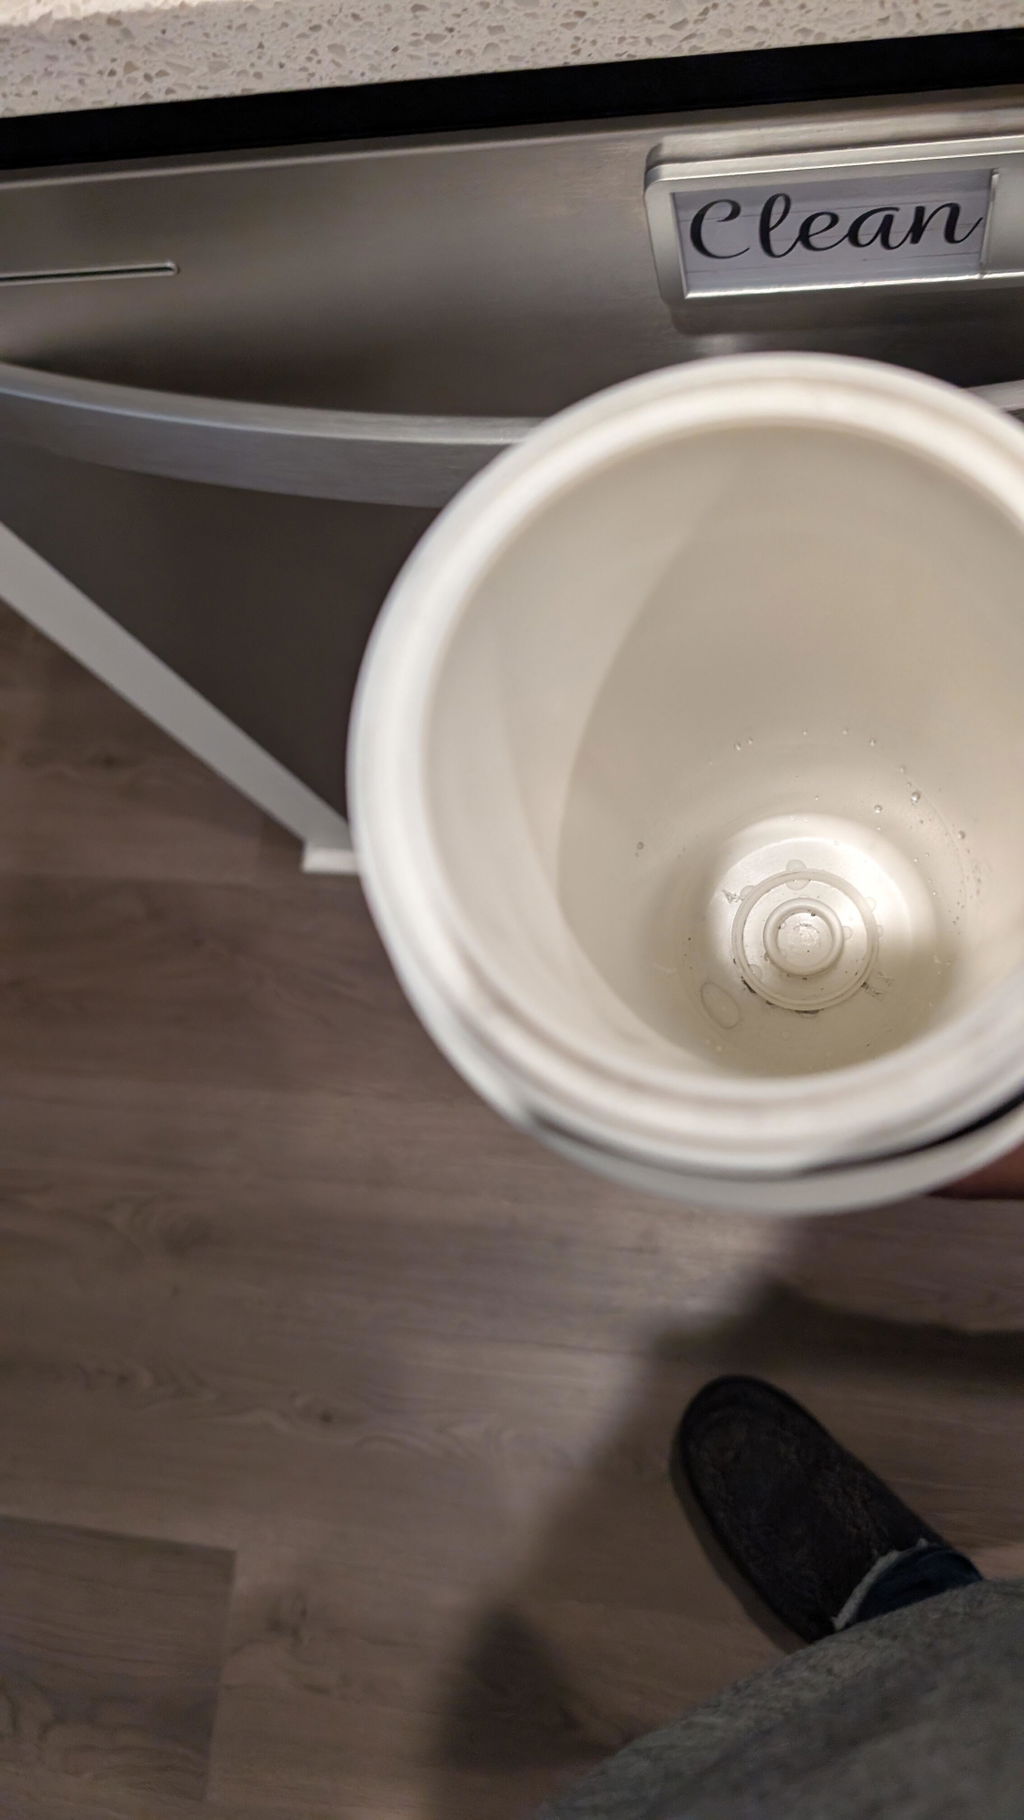
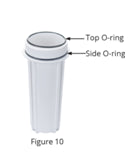
- Wash the 3 housings with mild soap. When washing, make sure not to lose the O-ring on the housing.
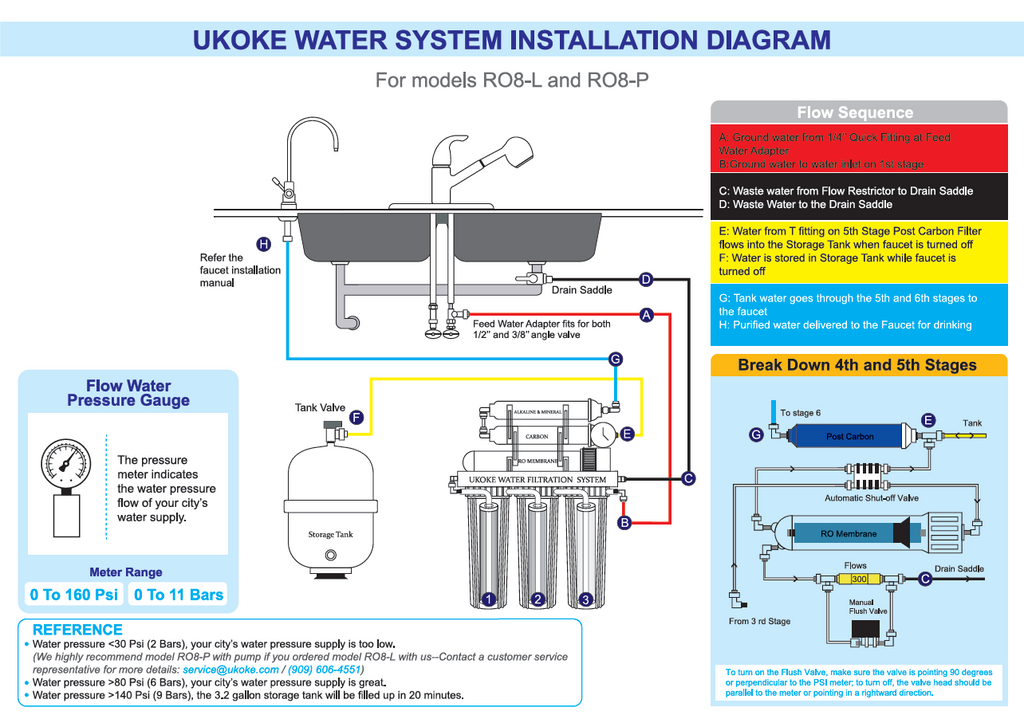
- Put 2-3 tablespoons of unscented household bleach (chlorine) into Stage-1 Screw this empty housing back onto the RO head, with bleach inside. (When you turn on the feed water later, the bleach in this housing will flow through the entire RO system and tank, and sanitize the system that way.)
- Put the stage 2 & 3 housings back onto the RO frame, tighten them. Then, close up the Membrane housing cap, without membrane inside. Now, all 4 housings for stages-1, 2, 3, & 4 are empty canisters waiting to be filled with chlorinated water.
- Turn ON the cold water supply to feed water into the RO. Openthe tank’s valve to allow water into the tank. Let the water run through the RO and fill the tank as usual. Since all the housings are empty, the tank should fill up relatively quick (a few minutes). When the tank is full, the RO system will shut off. When the system shuts off, the waste water in the Black drain line will stop running, or you won’t hear it draining any more.
- Now the chlorinated water has filled all the lines, housings, and tank of the RO system. Allow the chlorine water to stay in the system for 2-3 hours.
- After 2-3 hours’ soaking time, openthe tank valve, turn on the RO faucet (lift faucet lever into locked position) to drain out all water from the tank.
- Open up all the pre-filter housings and the membrane housing, drain out all chlorine water. To ensure proper disinfecting, DO NOT rinse the housings.
- Now the system and tank are cleaned and sanitized. Proceed to install all new filters and membrane.
- Replace the stage-5 and stage-6filter at this time.
- After putting in all new filters, turn on the feed water to start filling up the unit again.
- Let the tank fill up (takes 2-3 hours). Before using the pure water, drain out the first 2-3 tanks of filtered waterto flush out the new filters and any residual chlorine.
 to take out the membrane, avoid touching it with your fingers to prevent contamination.)
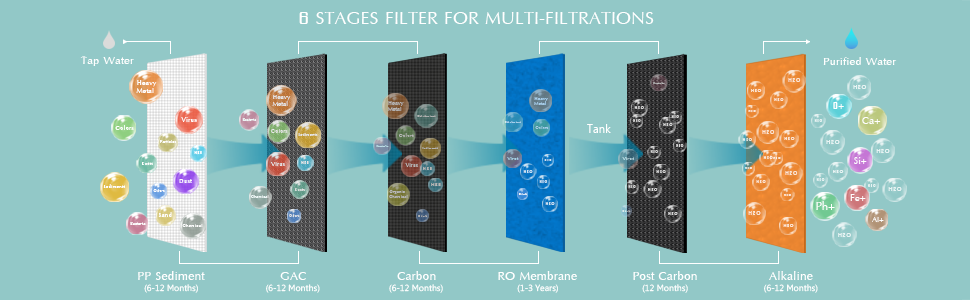
Our filter replacement schedule chart can be found in the manual provided with your unit. Stage 1-3 should be replaced every 6-12 months (depending on use) and stage 4-6 should be replaced every year.